Adding & Inviting Users to a Team
There are several ways a user can be added to a Team. We’ll take a look at the three most common ways in this article.
- Adding a User to a Team from Recruiting
- Inviting a New User to a Team Who has no Account or History On Your Platform
- Adding a User to a Team from Another Team
Helpful Reminder - We use the DEFAULT terms (labels) in all of our Support Documentation. Your Account may have Custom Labels enabled and in use. For example, the term TEAM is the default label for the grouping of users on the platform. However, the label TEAM may have been given a Custom Label such as CLASS, COHORT; DIVISION; CLIENT; DEPARTMENT; ETC. If you are an ADMIN on your account and your plan supports Custom Labels, you can view and edit your Custom Labels HERE.
#Option 1: Adding a User to a Team from Recruiting
When a candidate has applied to a position (or program, job, etc) and you are ready to accept the candidate onto a Team, there are two ways a candidate can be added to a team: Manually and Programmatically (via a predefined sequence action). Here we’ll take a look at how to Manually add a candidate to a Team from Recruiting.
Step 1: Navigate to Recruiting (Admissions)
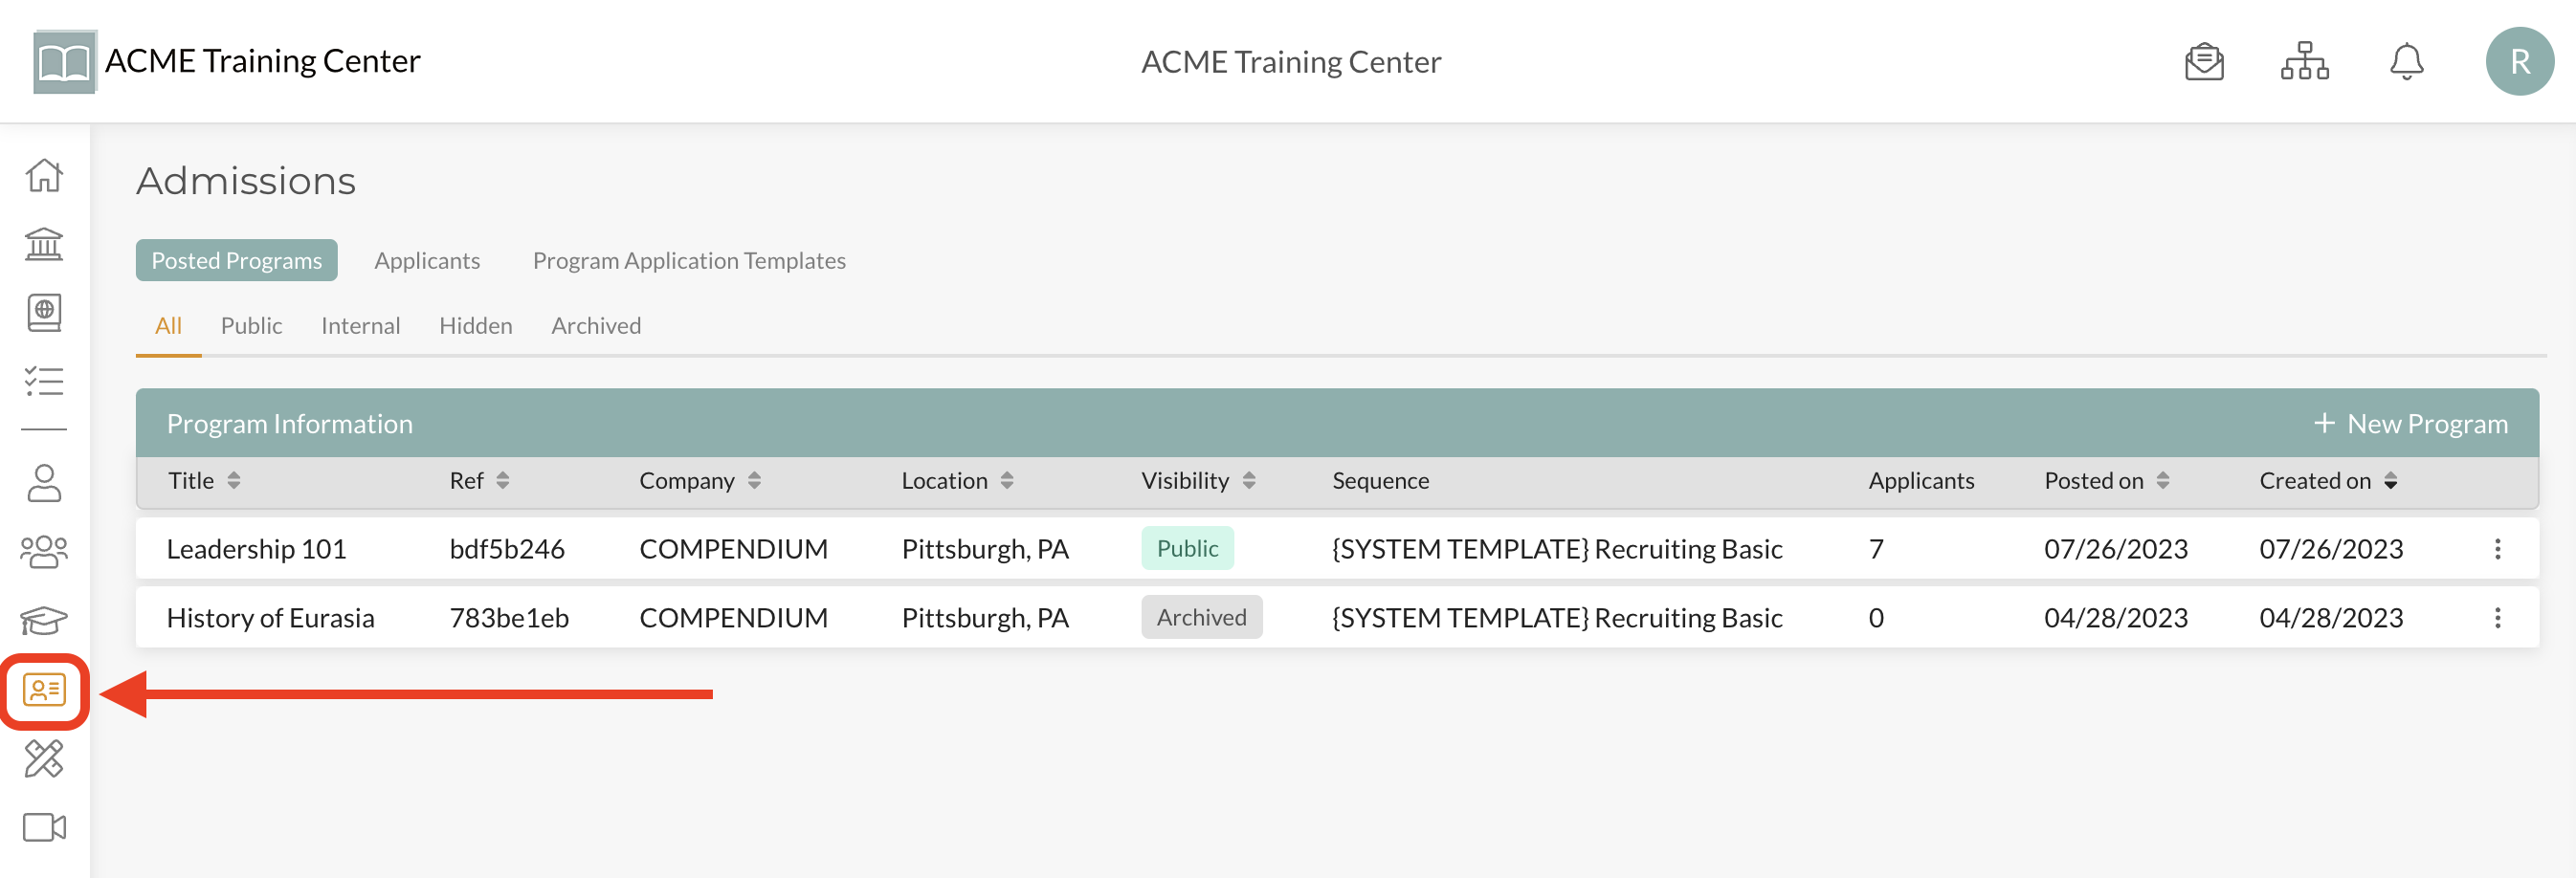
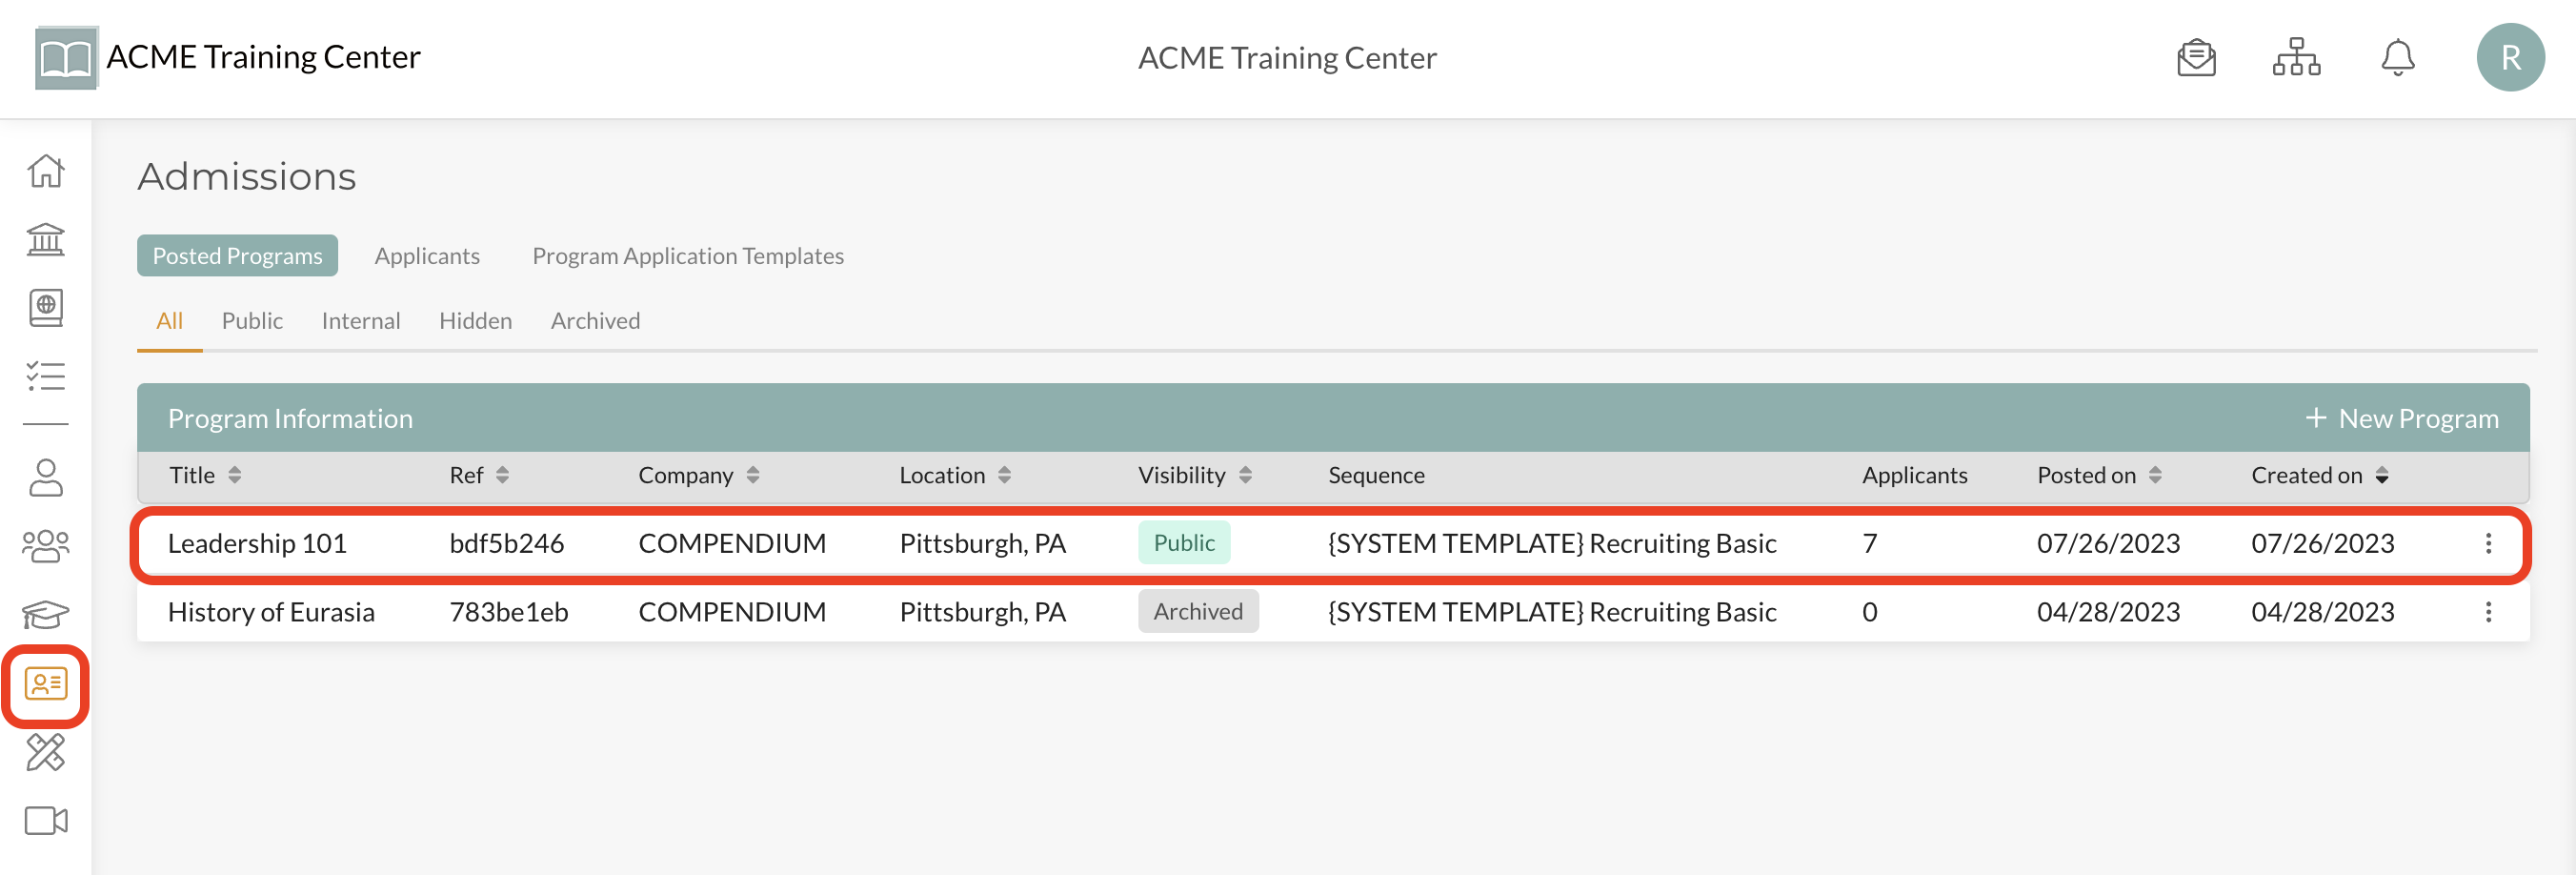
Step 2: Identify Candidate
Select the particular Program (job, requisition, etc) that the candidate applied to.
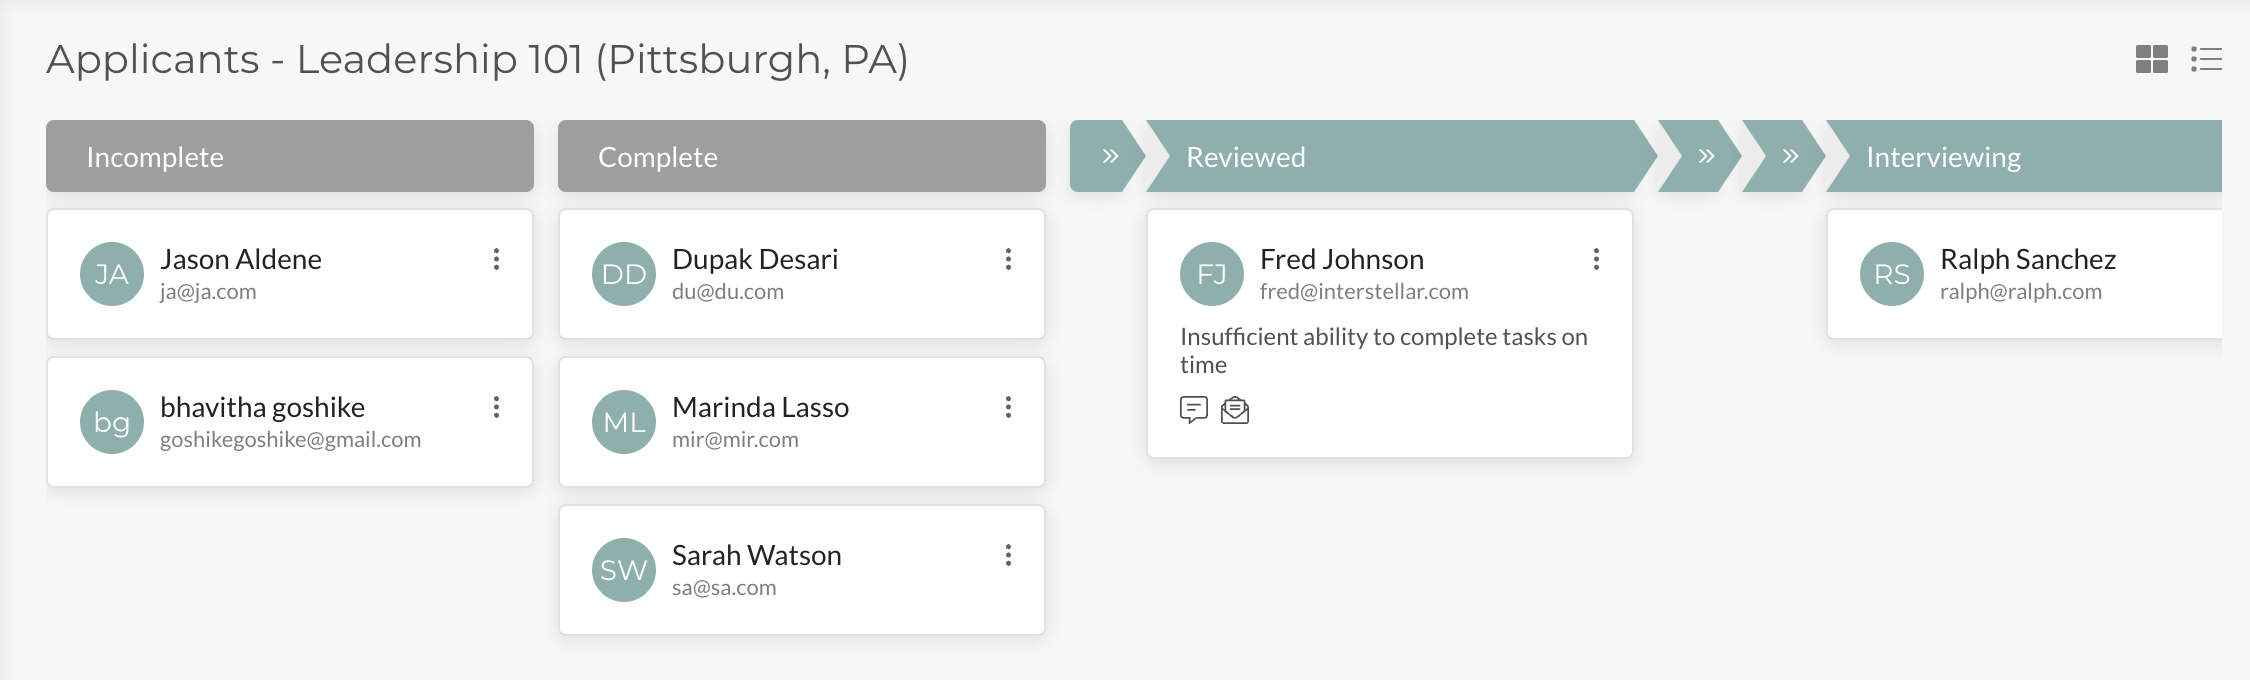
When viewing candidates who have applied to a particular Program, you can view the candidates in list view or block (aka: ‘kanban board’) view. Select the view you want from the top right ‘block’ or ’list’ icons.
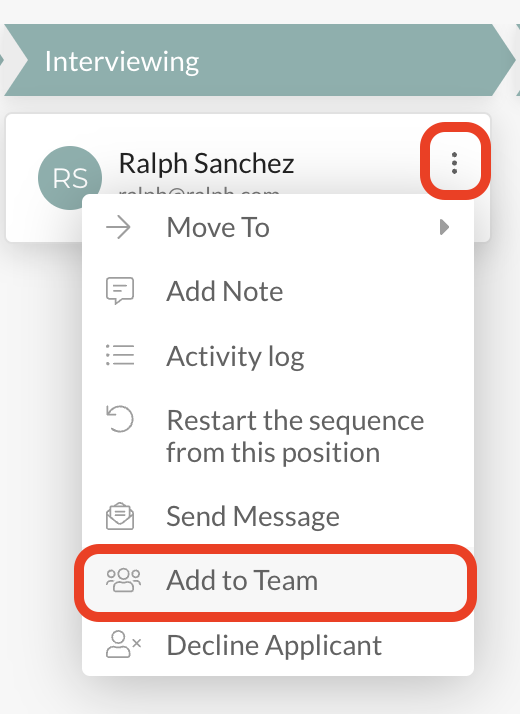
Step 3: Choose “Add to Team”
From either the Kanban (this example) or list view, click on the ellipsis (3 vertical dots) to the right of the candidate and select “Add to Team” in the drop-down menu.
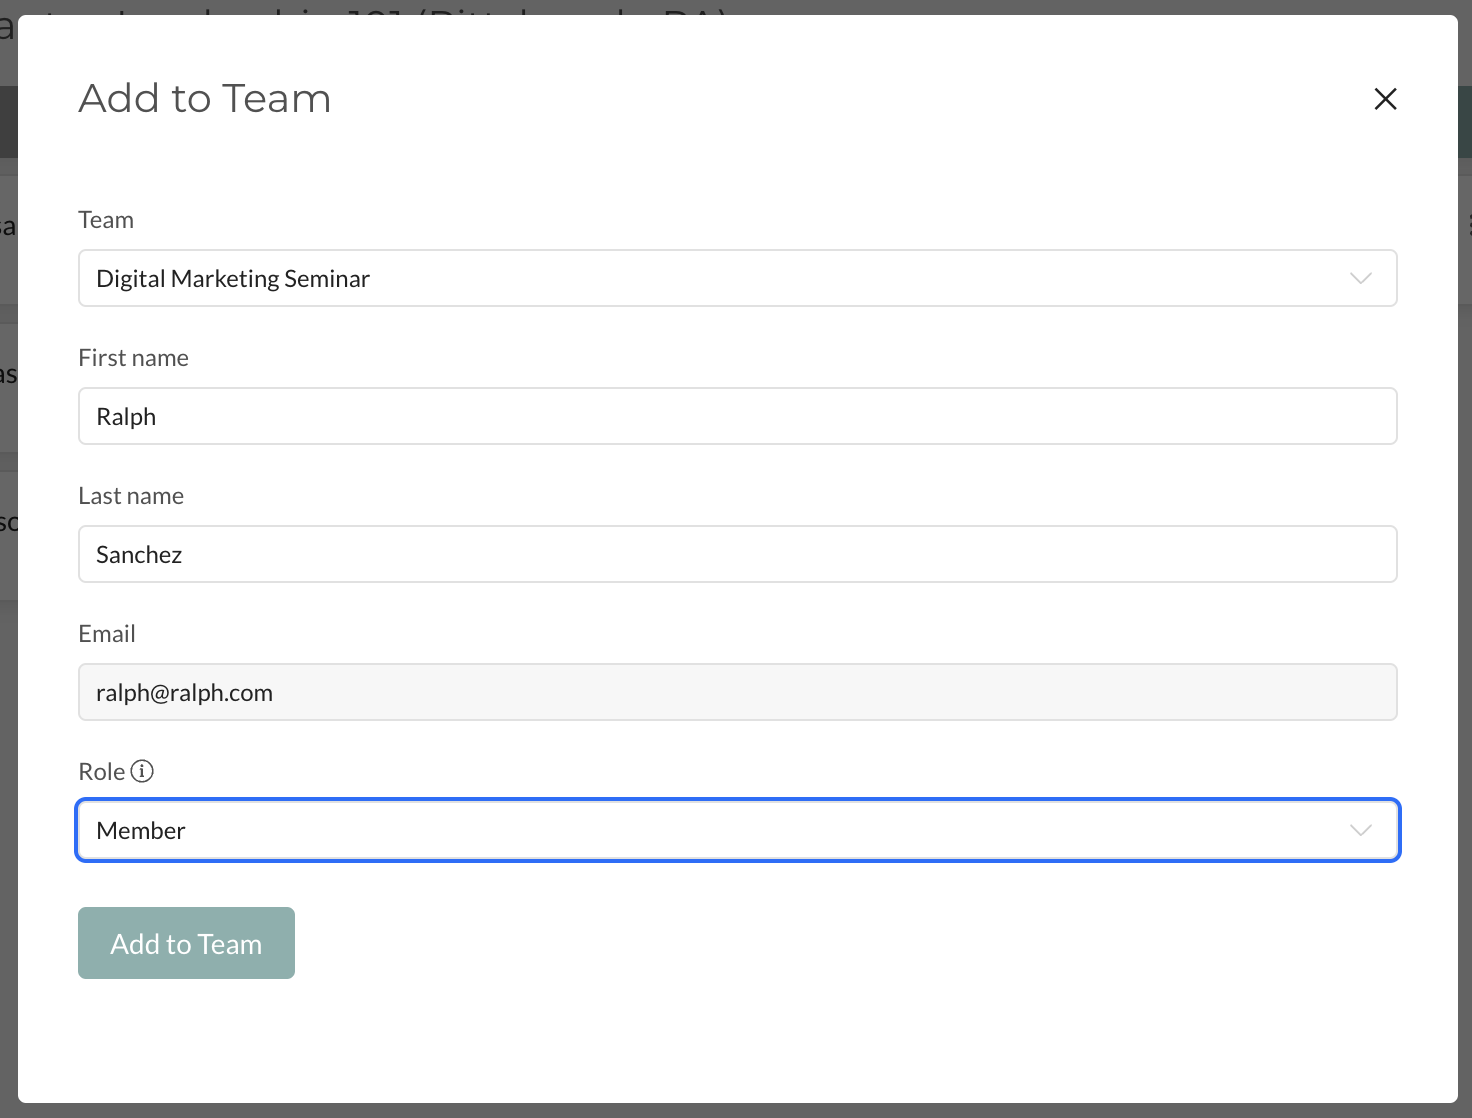
Step 4: Complete “Add to Team” Information
In the pop-up, select the Team you want to add the candidate to and the Role you want them to have. Click “Add to Team” to complete the process.
Step 5: Manage User
Upon clicking “Add To Team” in the step above, the User will receive an Notification via email and on the Platform that they have been added to the team. You can now manage the user on this team.
Be sure to complete the Recruiting process by placing the candidate in the appropriate stage of the Recruiting Sequence.
#Option 2: Inviting a New User to a Team Who has no Account or History On Your Platform
Step 1: Select Team
Navigate to the Team the user will be invited to

Step 2: Choose “Invitations”
In the “Members” section, select the “Invitations” tab
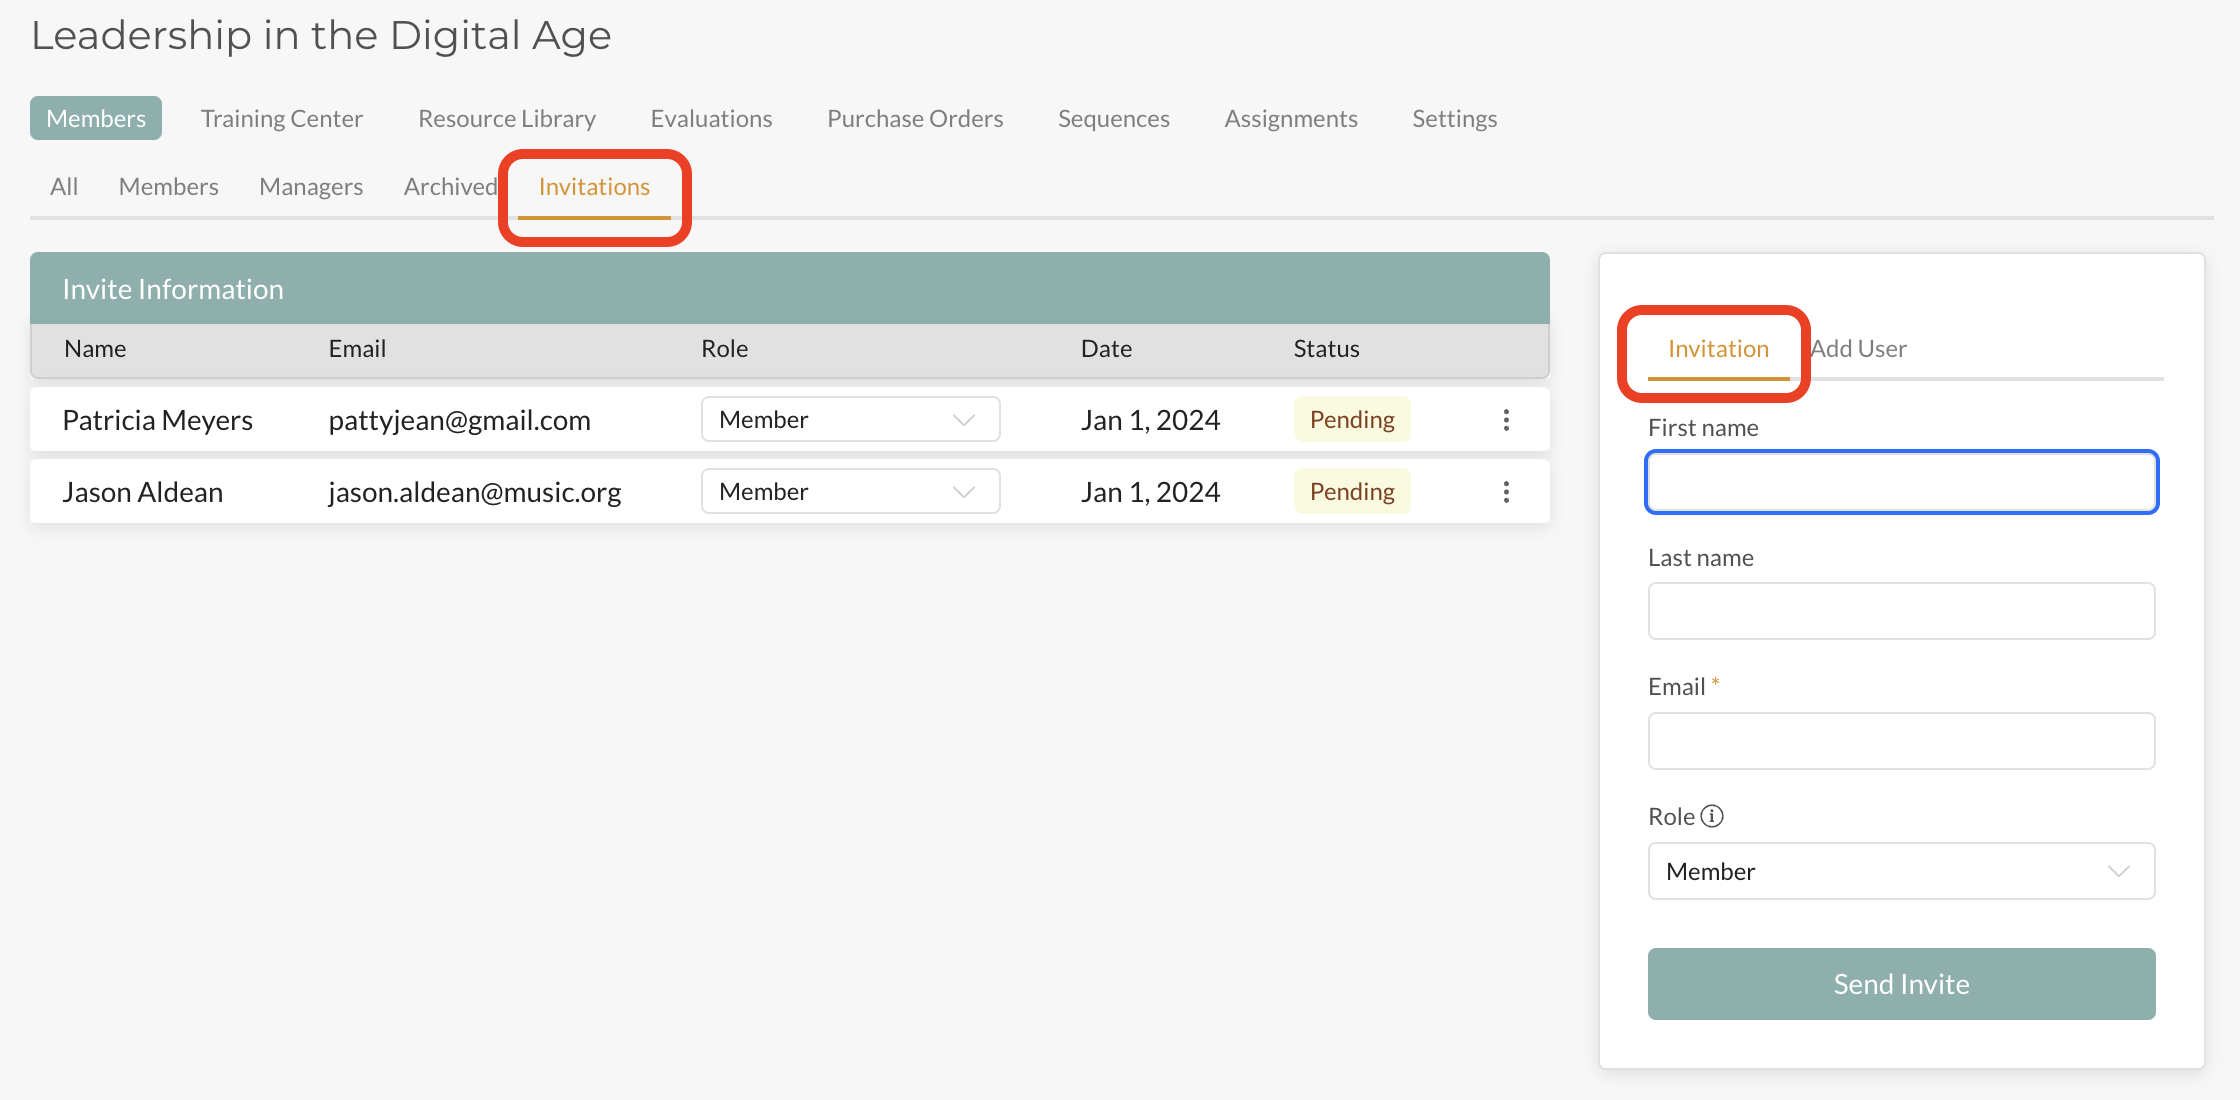
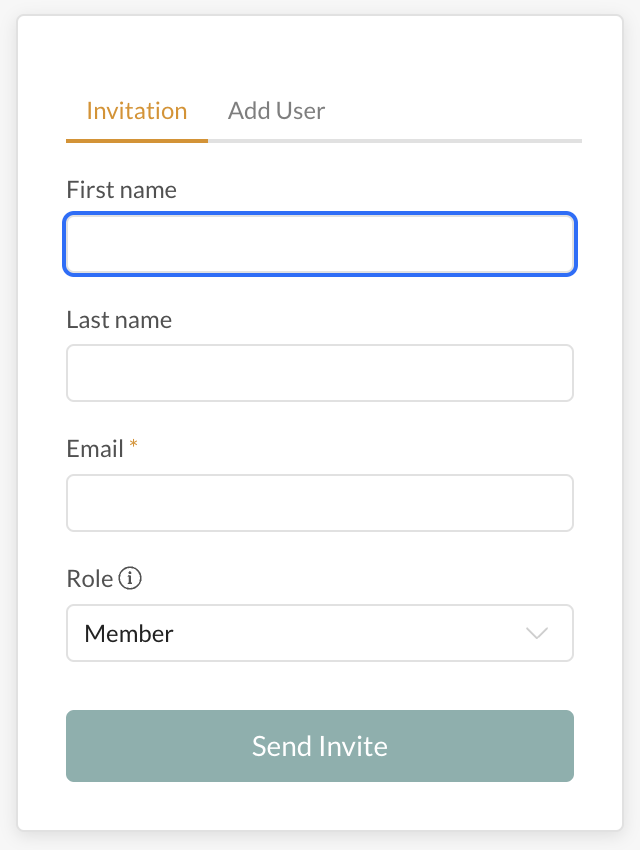
Step 3: Send Invite
On the right side of the screen, you will see a section where you can send an “Invitation” and “Add User”. To send an “Invitation”, Enter the individual’s information, choose the role they will have on the team, and click on “Send Invite”.
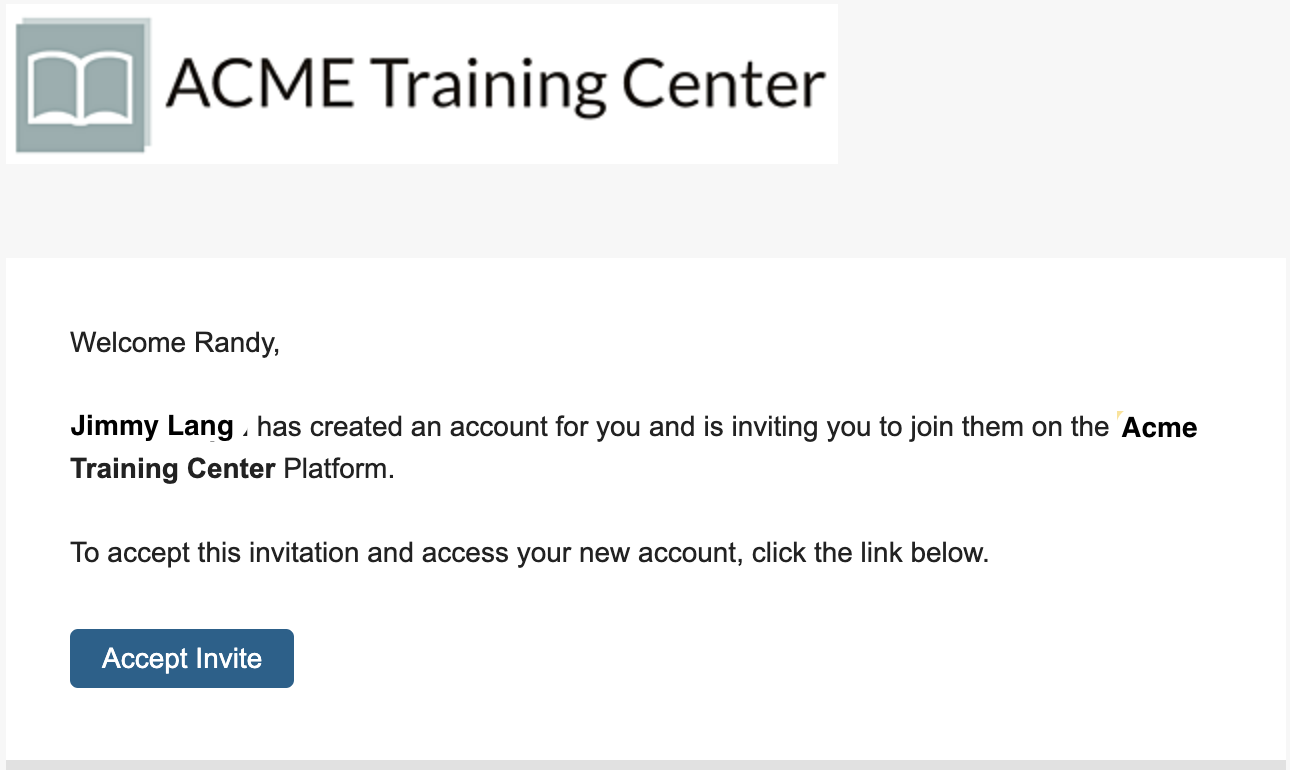
Step 4: User Accepts Invite
The user will receive an email invitation to the team. Once they receive it, they will need to click on “Accept Invite”.
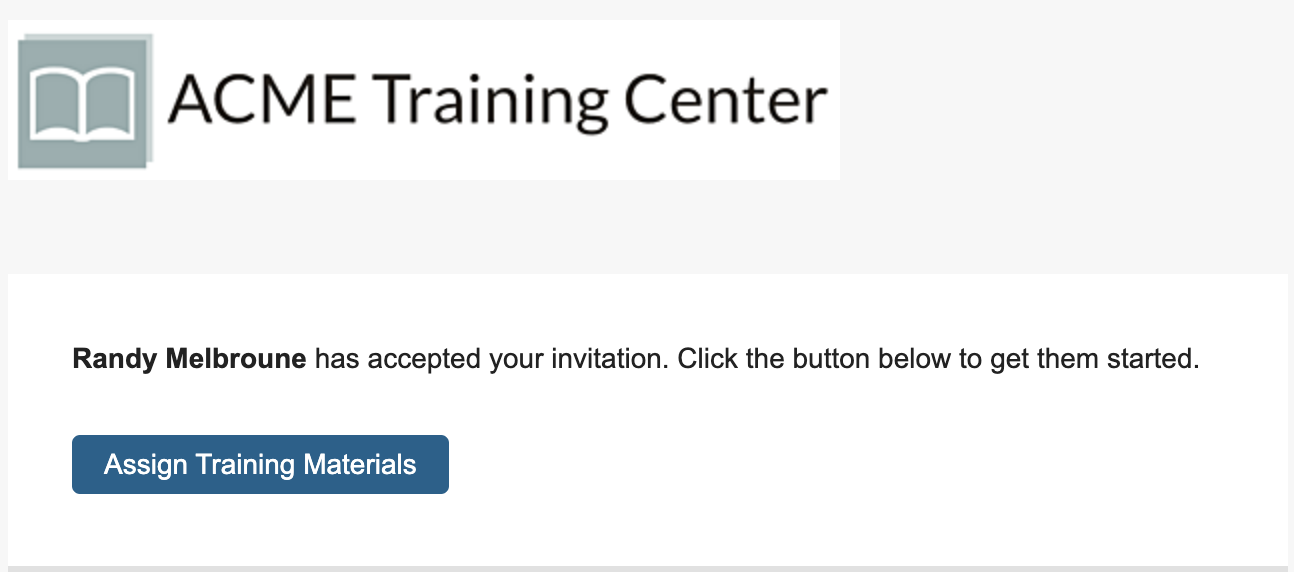
Once they have accepted the invitation, you will also receive a Notification (via email and on the Platform) confirming they have accepted the invitation.
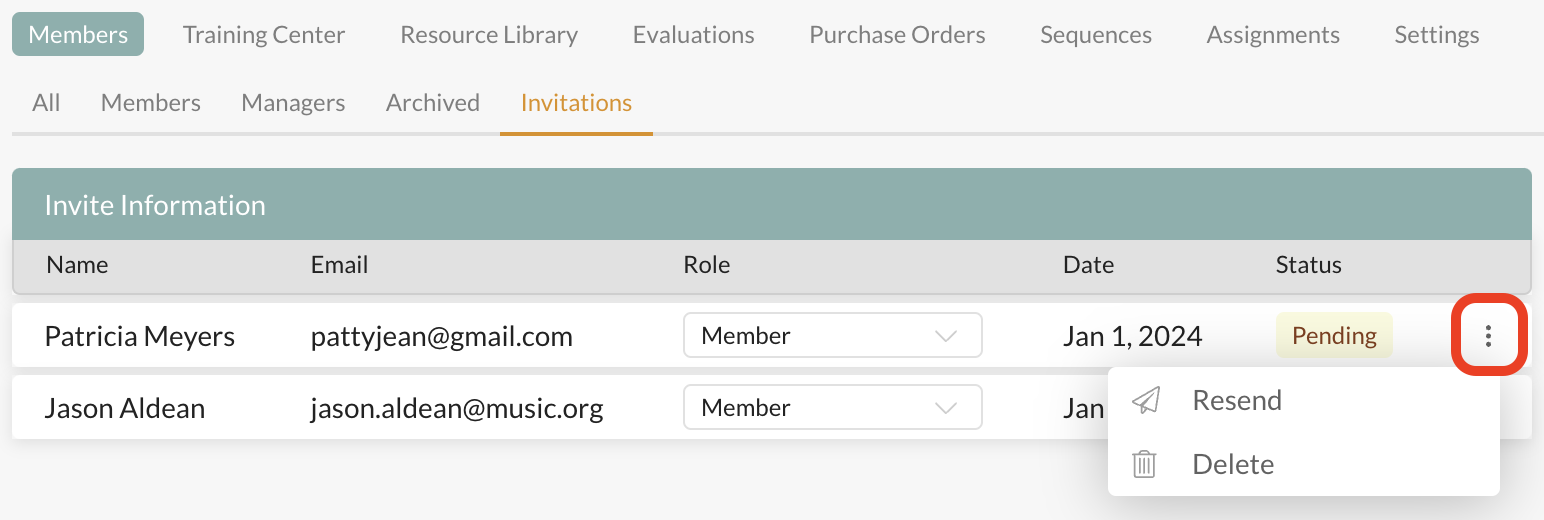
NOTE: If the user has not received the invitation email or has not seen it, be sure they have checked their junk mail and white-labeled “noreply@diode.io”. You can always view their invitation status and resend or delete the invitation from the “Invitations” tab if needed.
Step 5: Manage User
You can now assign materials and manage the user on your Account!
#Option 3: Adding a User to a Team from Another Team
Step 1: Select Team
Navigate to the Team the user will be invited to

Step 2: Choose “Invitations” and Then Select “Add User”
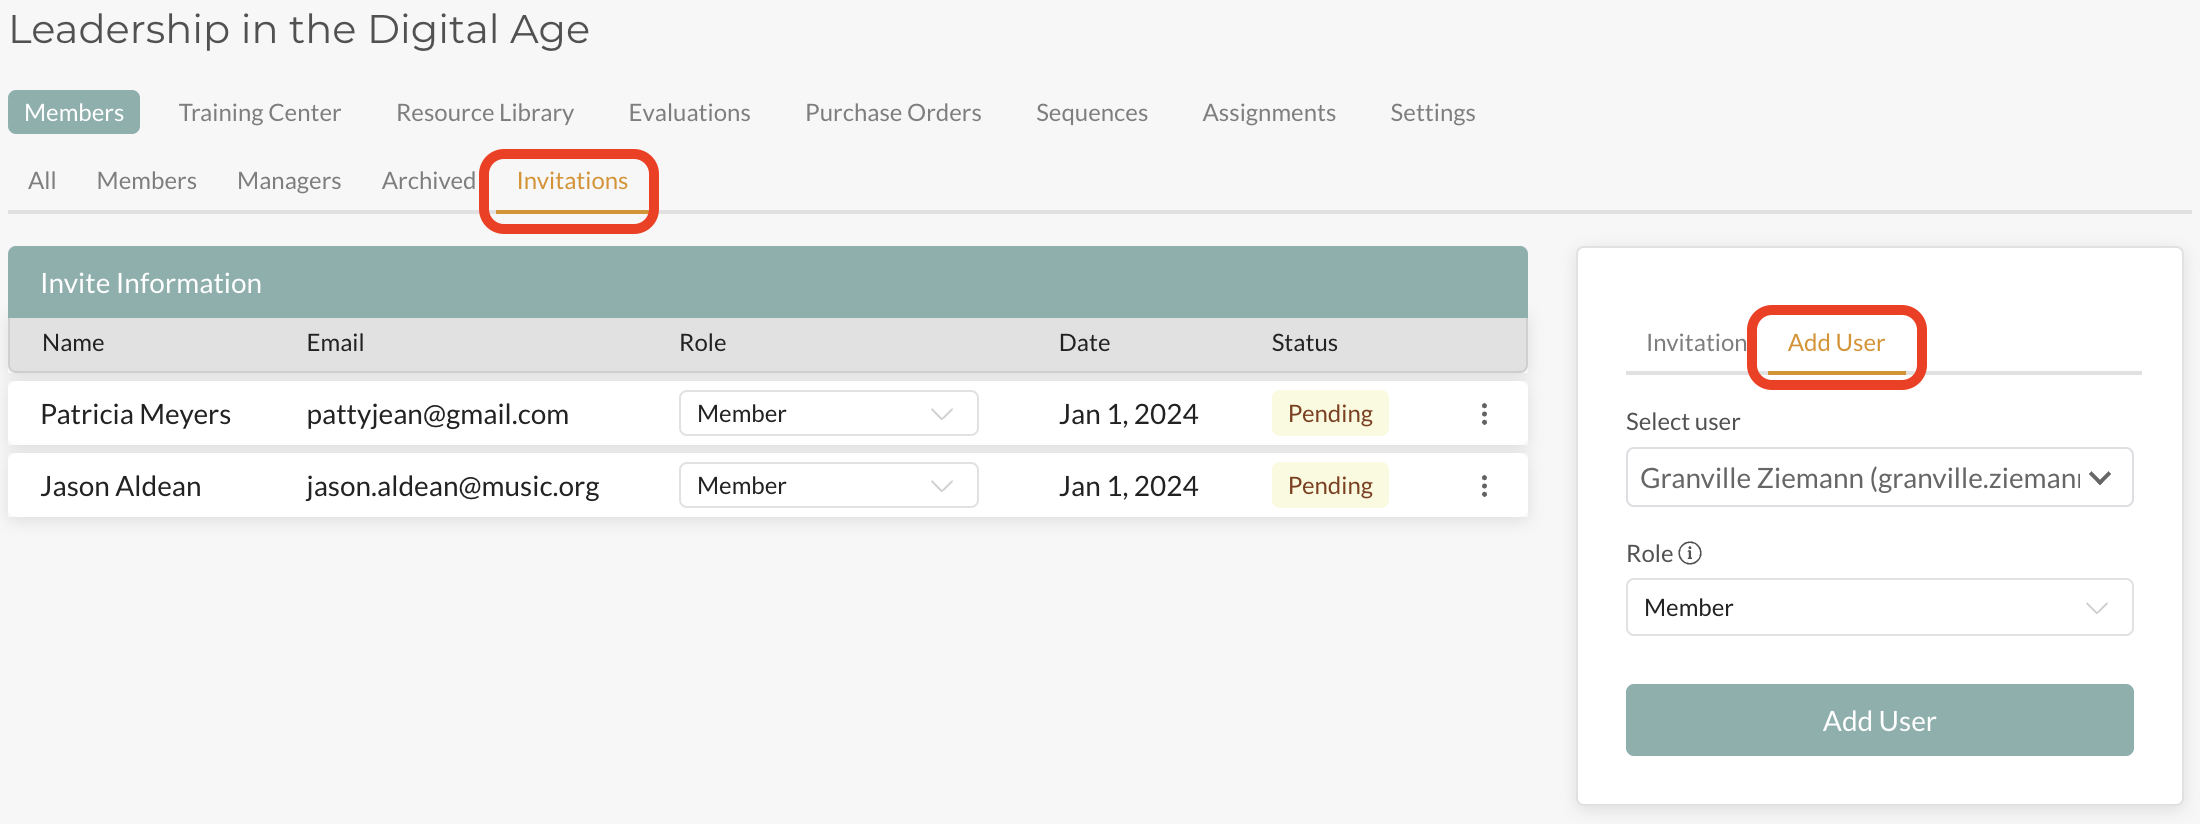
In the “Members” section, select the “Invitations” tab and then select “Add User” in the box on the far right of the screen.
Step 3: Add User
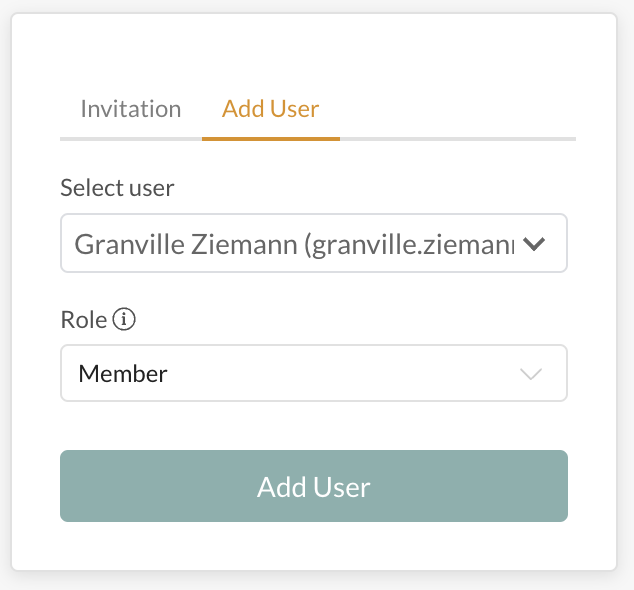
On the right side of the screen, you will see a section where you can send an “Invitation” and “Add User”. Choose “Add User”, select the user from the “Select user” drop-down, select their “Role” and then click “Add User”.
Step 4: Manage User
Upon clicking “Add User” in the step above, the User will receive an Notification via email and on the Platform that they have been added to the team. You can now manage the user on this team.