Sub Accounts Setup
Sub Accounts are great ways to provide customized experiences for your users. Here we’re going to see how to set up a Sub Account.
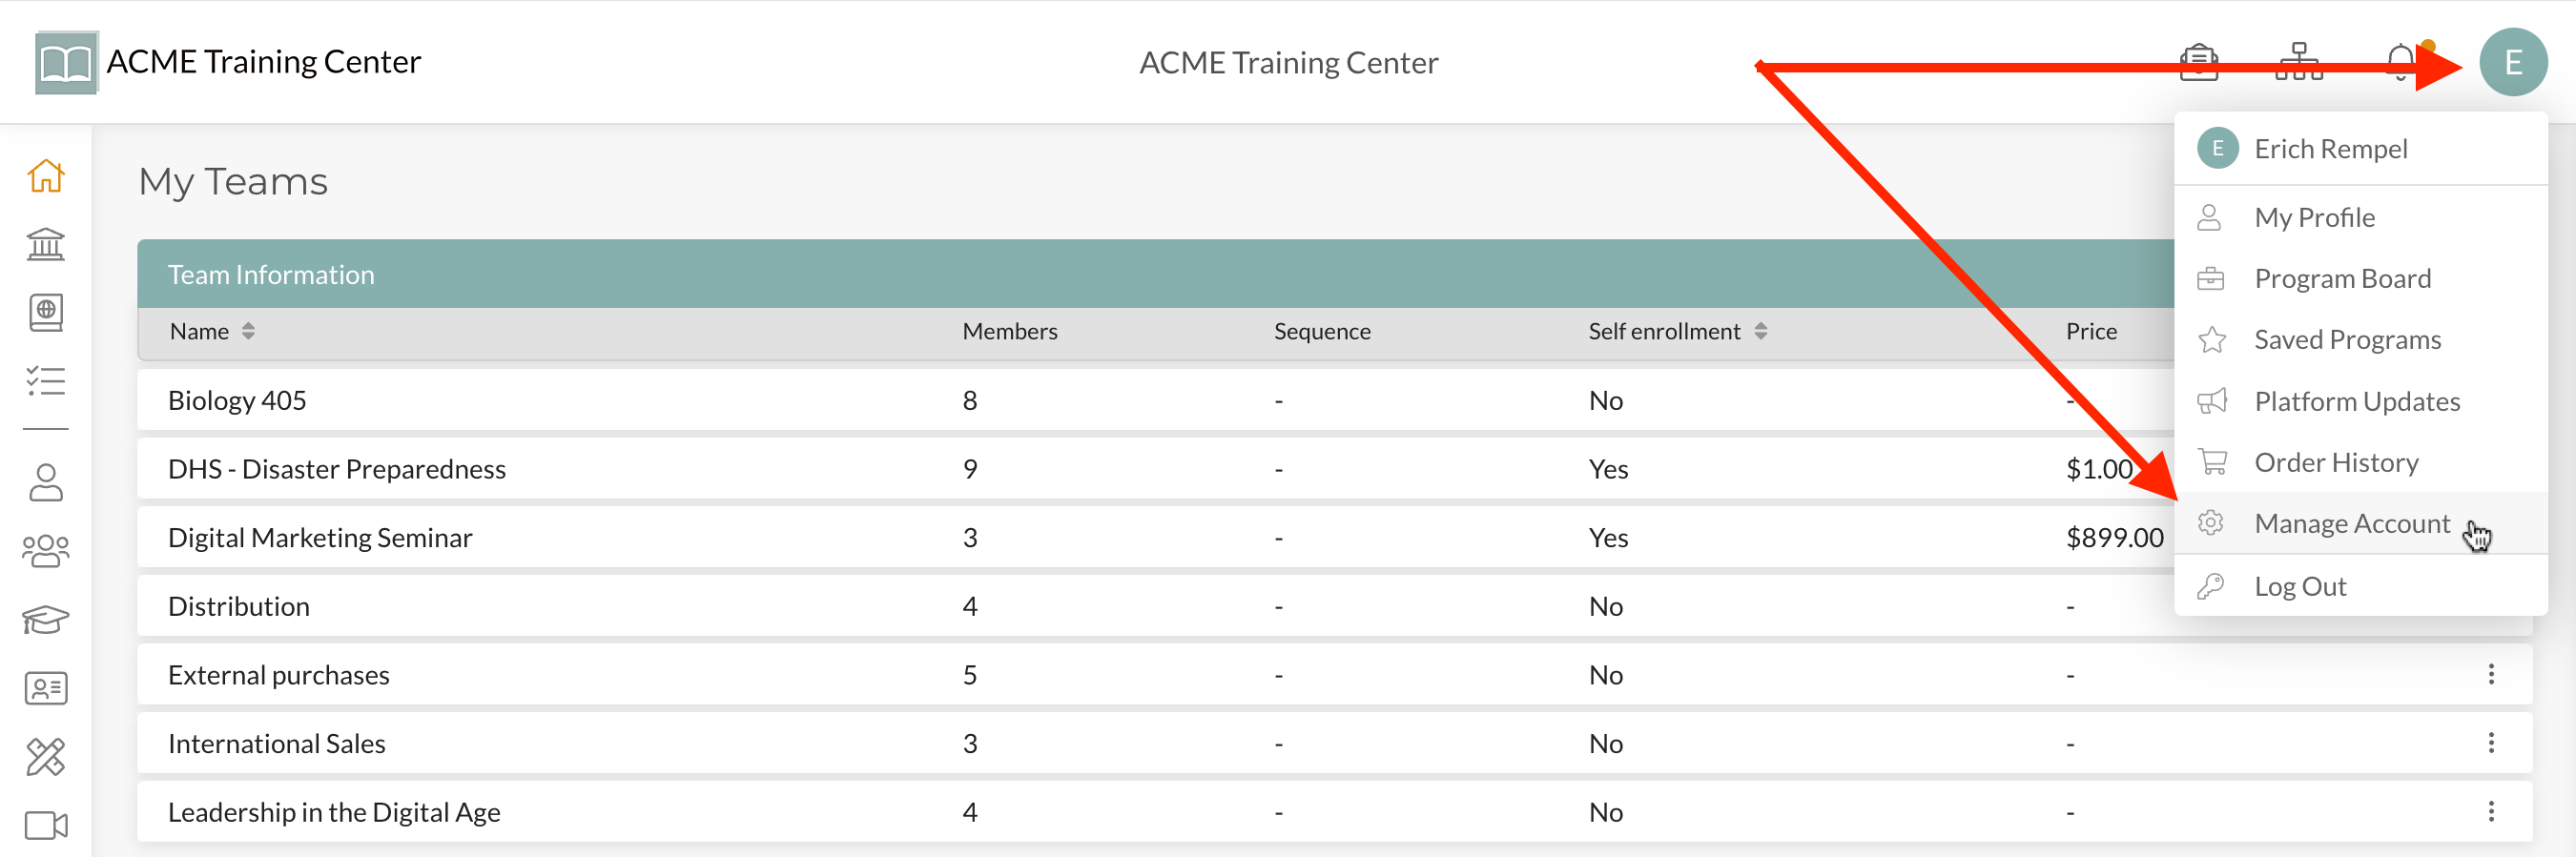
Step 1: Navigate to your “user avatar” at the top-right of your account and click “Manage Account” from the drop-down list.
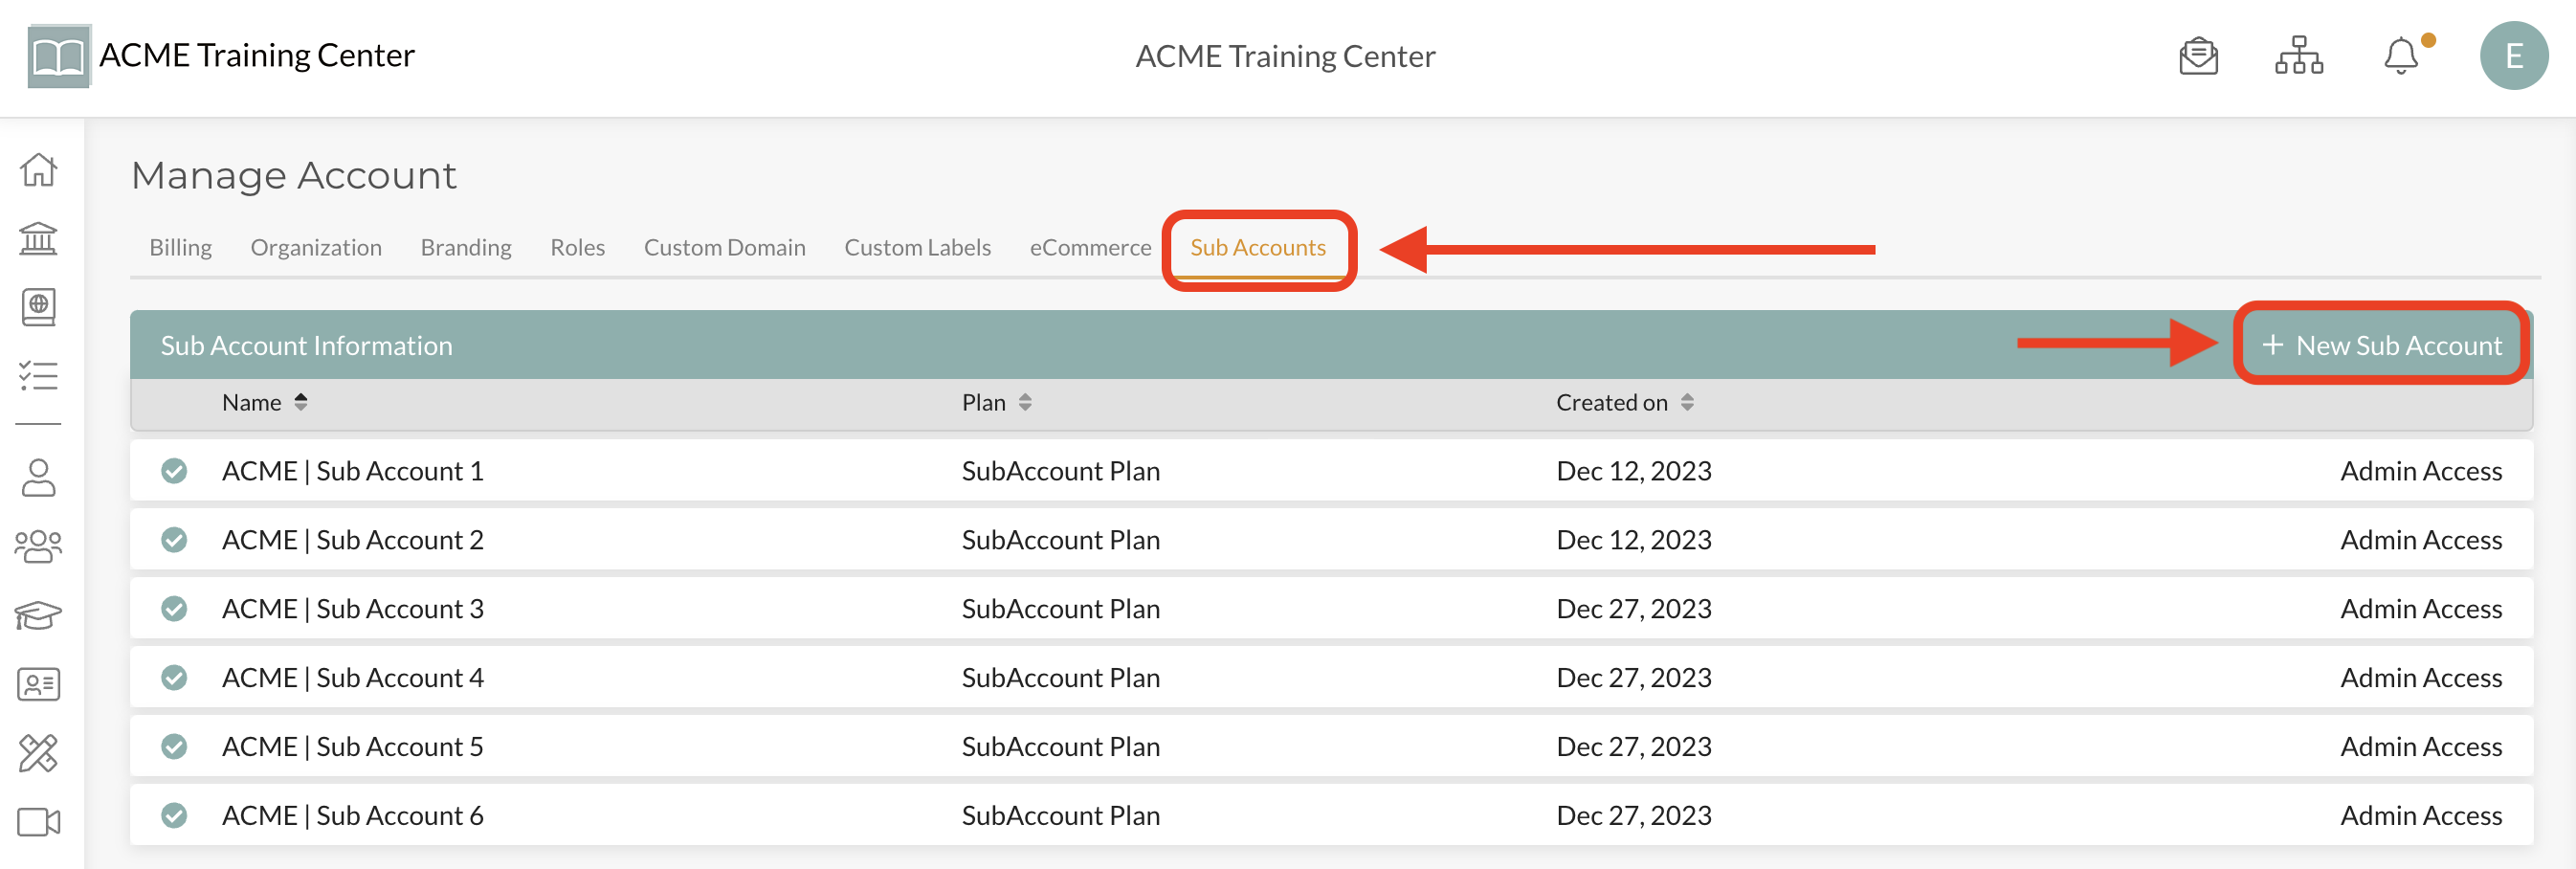
Step 2: Select the “Sub Accounts” tab and then click on “+ New Sub Account”
Step 3: Give the new Sub Account a name, select the Billing Interval, select the Features you want to copy from the Parent Account to the Sub Account, and click “Create Sub Account”.
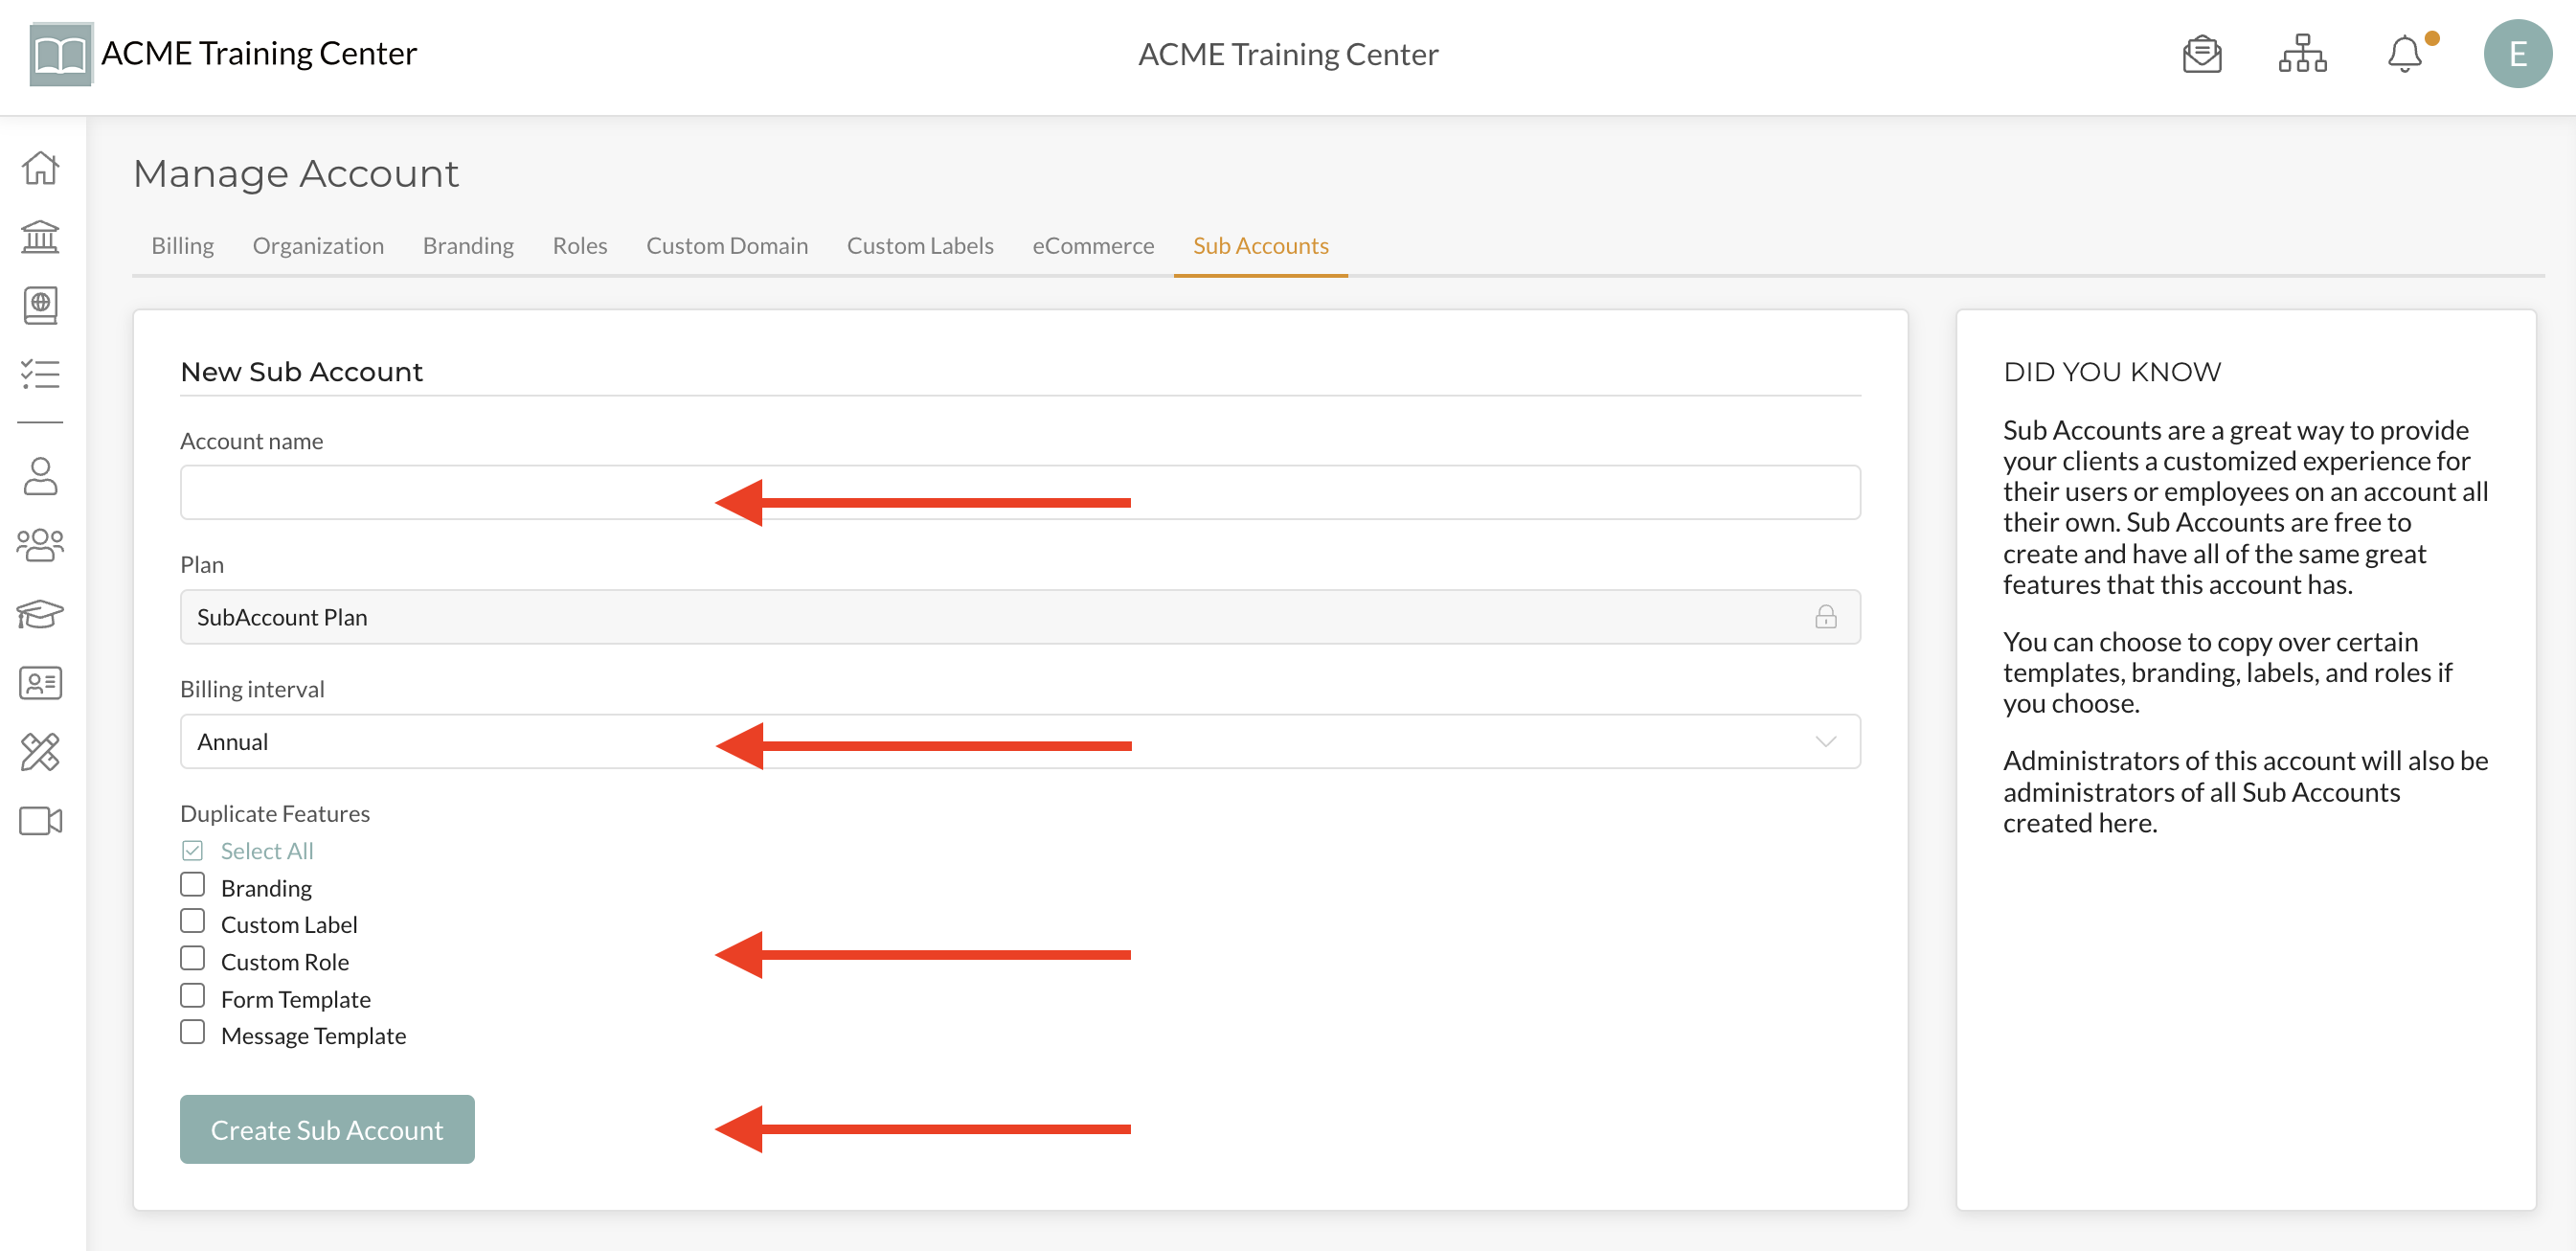
Note: When you select any of the Features to duplicate, the Sub Account will receive a ‘snap shot’ of those templates and features you selected and generate a duplicate of those features as they are on your Parent Account AT THAT MOMENT. Any subsequent updates or changes to those features on your Parent Account WILL NOT be reflected in the Sub Account.
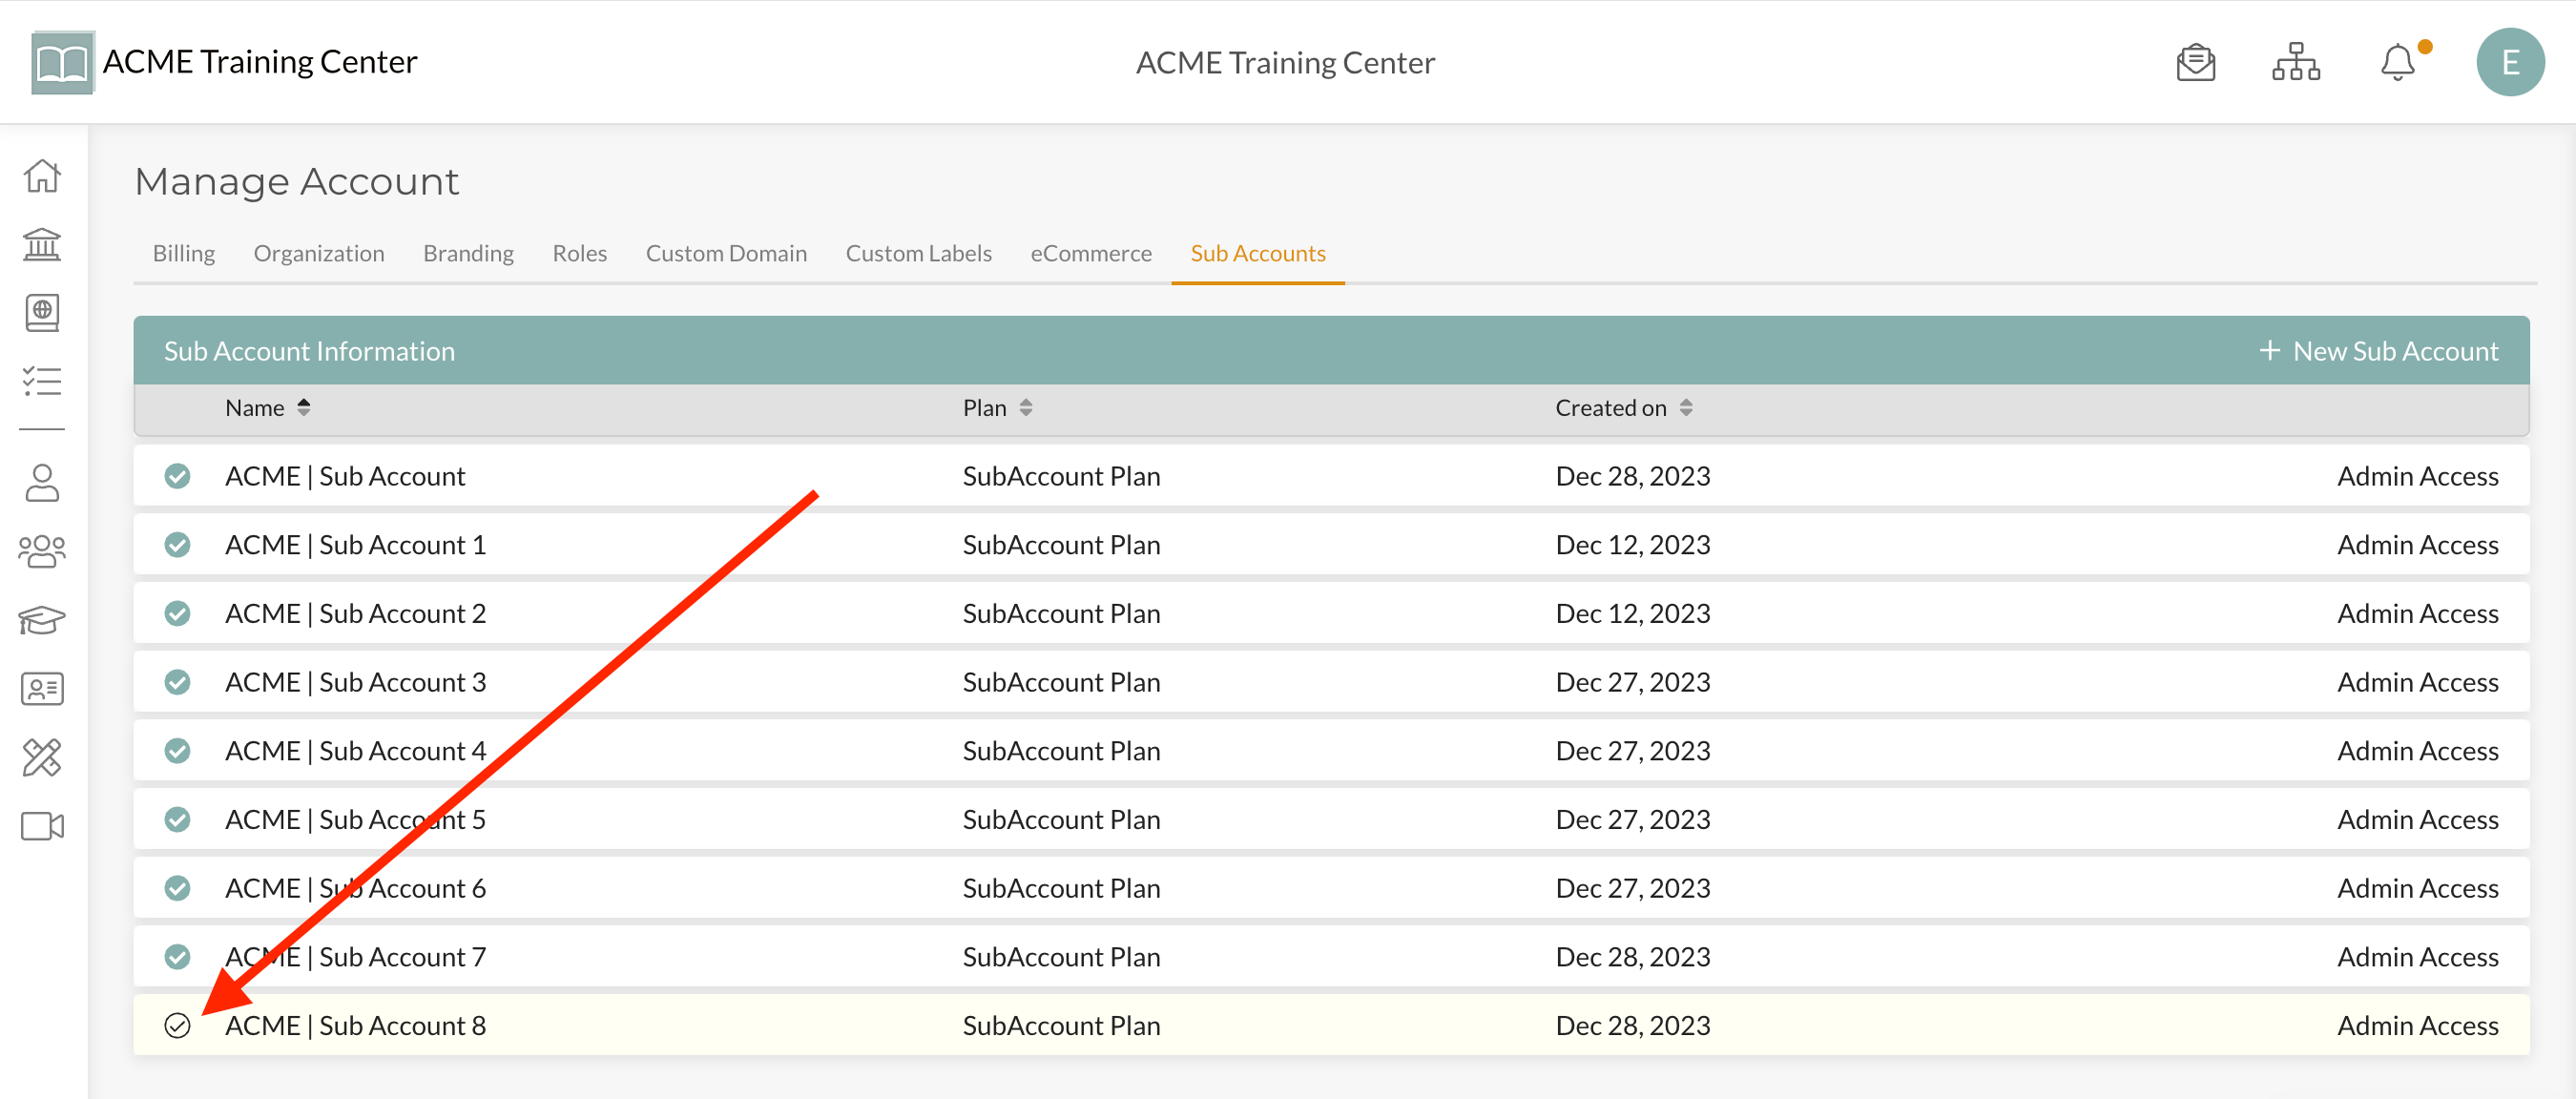
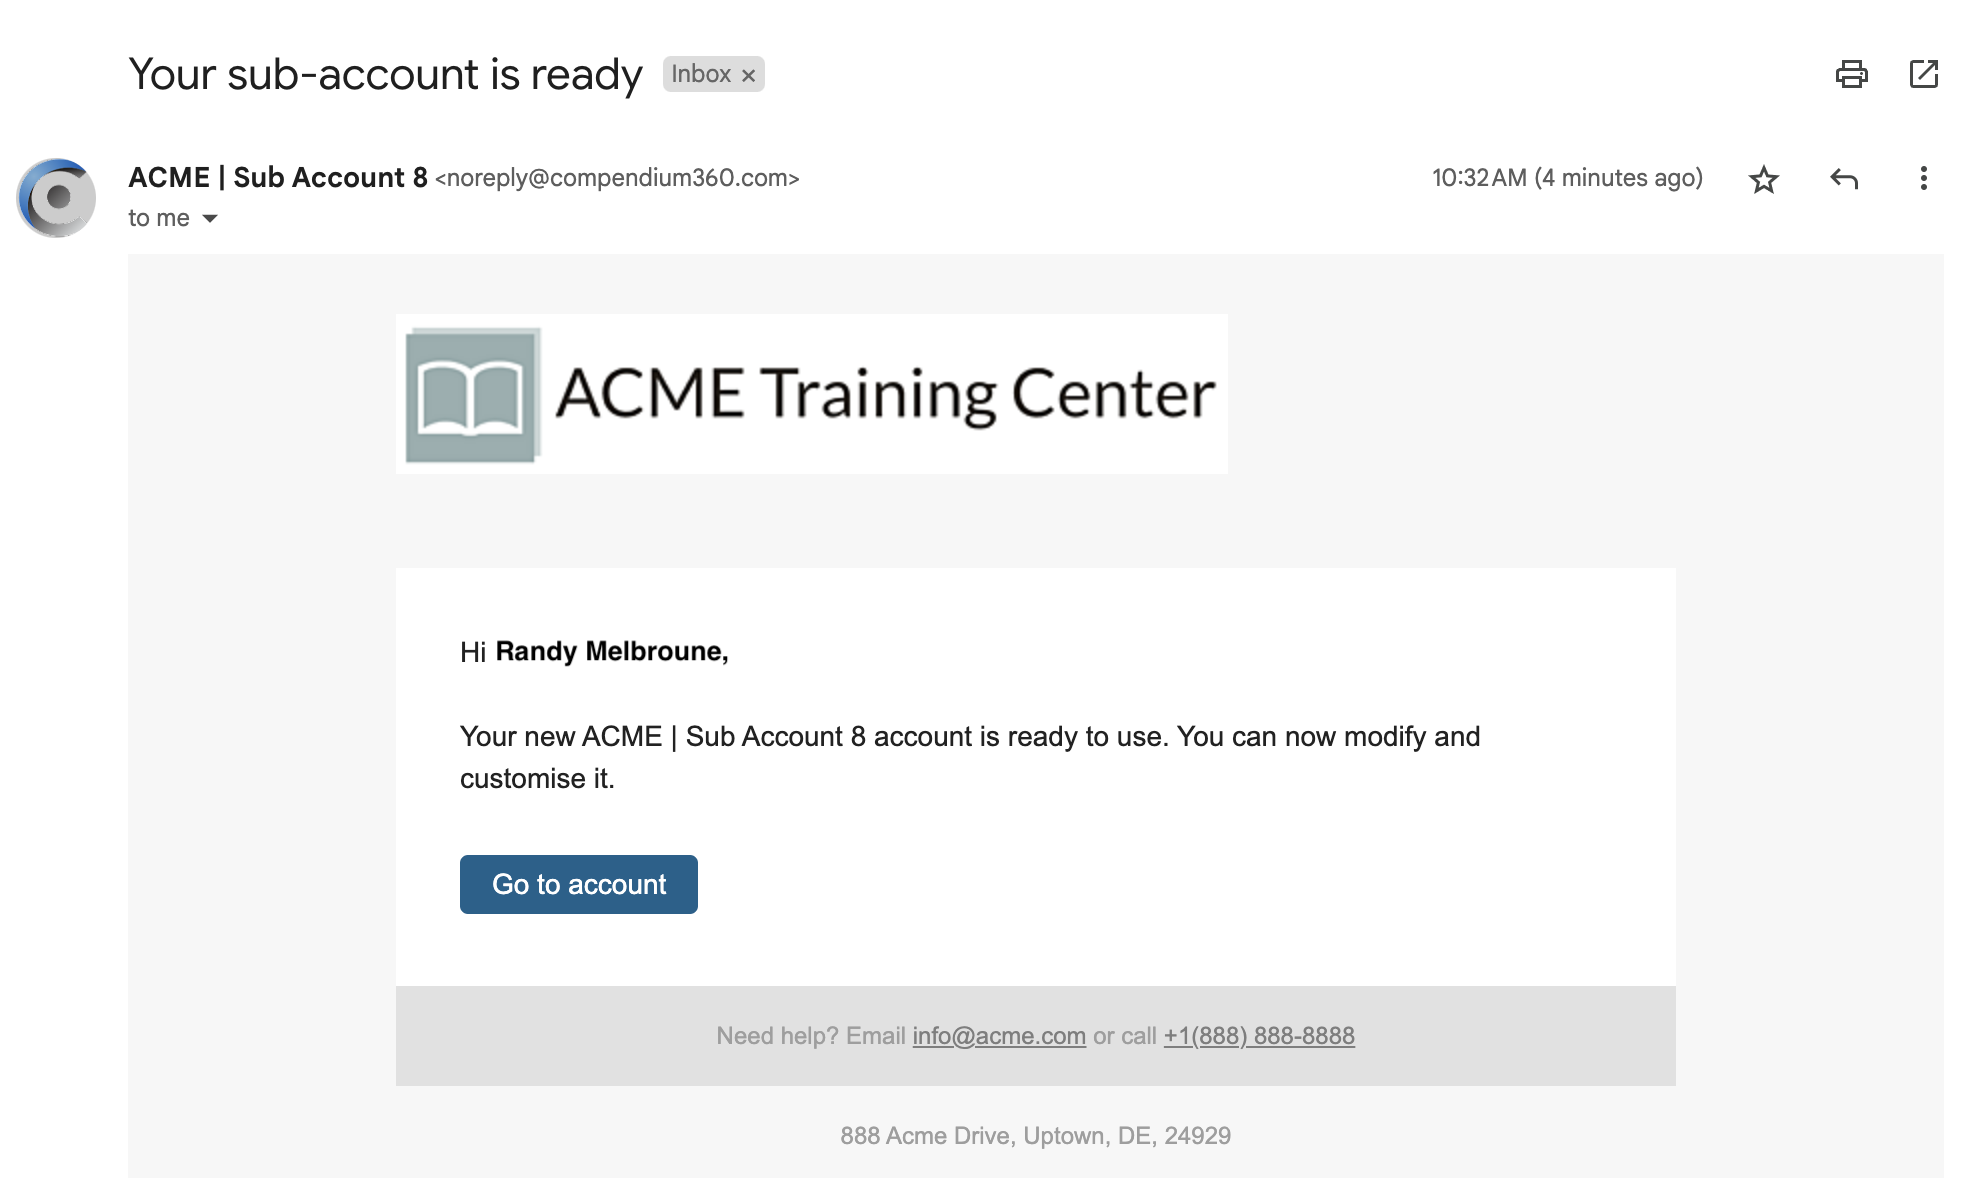
Confirmation: Once you click “Create Sub Account”, you will be taken back to your list of Sub Accounts. Your Sub Account will be ready once the checkmark-in-a-circle has been colored in. You will also receive an email notifying you that your Sub Account is ready to go.
That does it! You’ve set up your first Sub Account- Congratulations!